I struggled with making levels in the beginning of the development of my game StopMotion. StopMotion is a movement centric game, level design is a key aspect of the game. I never made levels on a bigger scale and I simply didn’t know what to do.
So I just started placing blocks and creating a path.
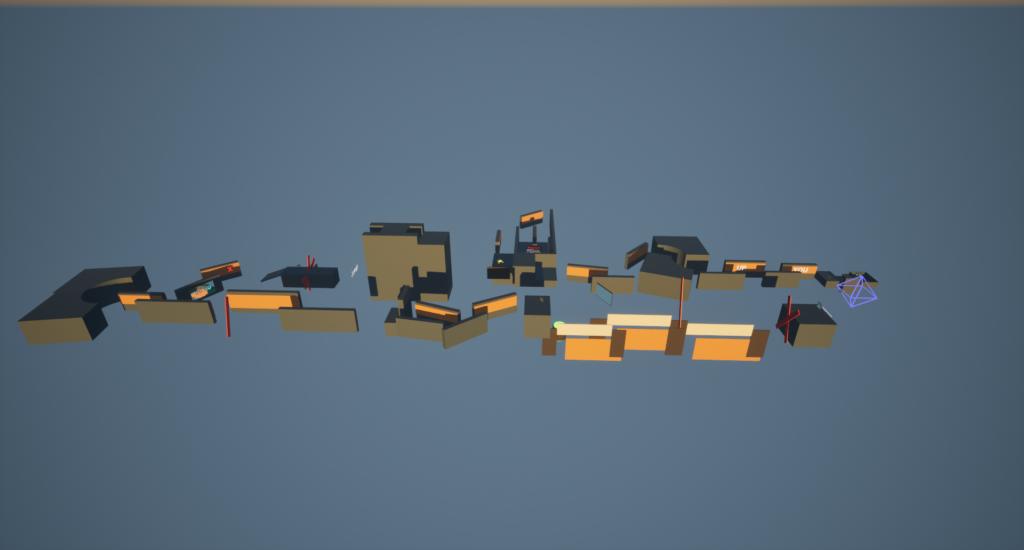
First level I’ve made for playtesting
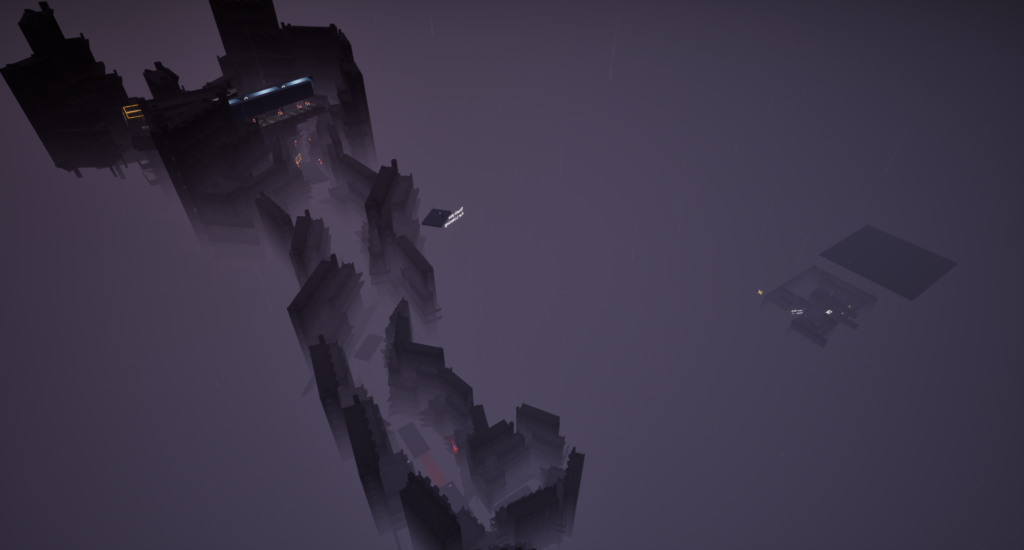
Second level I’ve made for playtesting
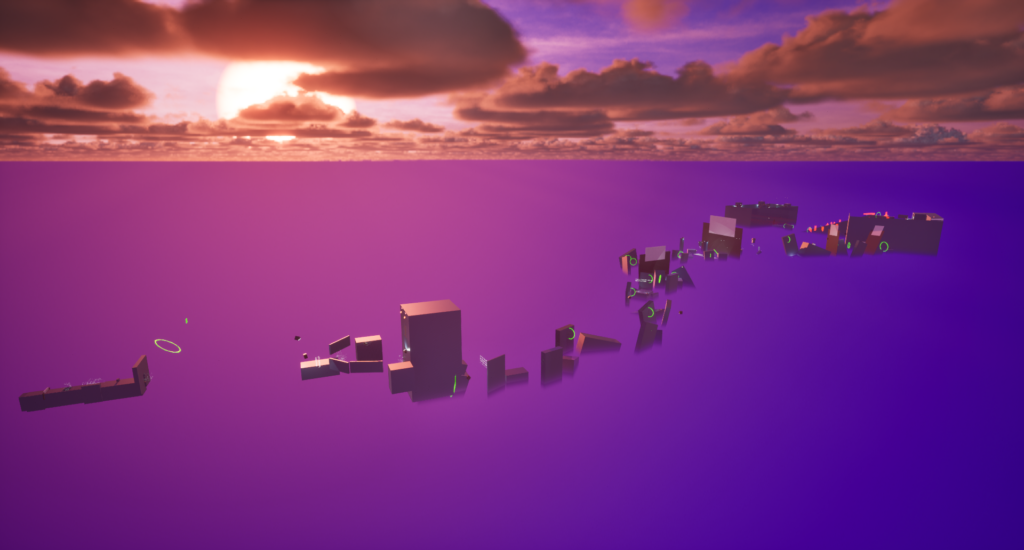
Third level I’ve made for playtesting
These levels are lacking a lot; The pacing is too fast and difficult; there is no story to be told; it is all just an information dump; and most importantly I was not speaking the language of my game!
Let me explain that last part. It might sound weird, but every video game, or piece of entertainment has its own rules: Spiderman can’t fly and Getting stabbed by a lightsaber should kill you. My game has rules as well, they are in this case the mechanics and movement (the game has more rules, but for this blog and level design lesson I’m keeping it to mechanics). It is what the player can and can’t do, and how difficult it might be to pull off.
A small gap might tell the player to jump. An orange wall to wallrun and A slope should be sliding. Of course there is more, but this is generally what I mean by: “Speaking the language of your game.”. The player should not be to puzzled by my levels, because the focus is on mechanical complexity and timing rather than puzzles.
But how do I speak the language that is my game? Great question!
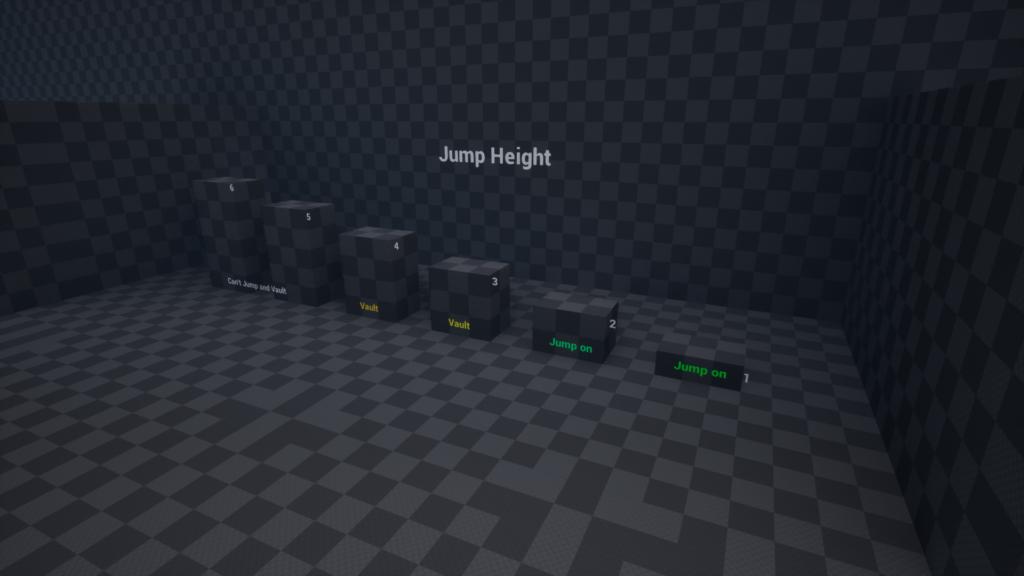
First, explore your game and find what can and can’t be done.
Second, Translate your findings into Gameplay. Since your language is spoken in Gameplay.
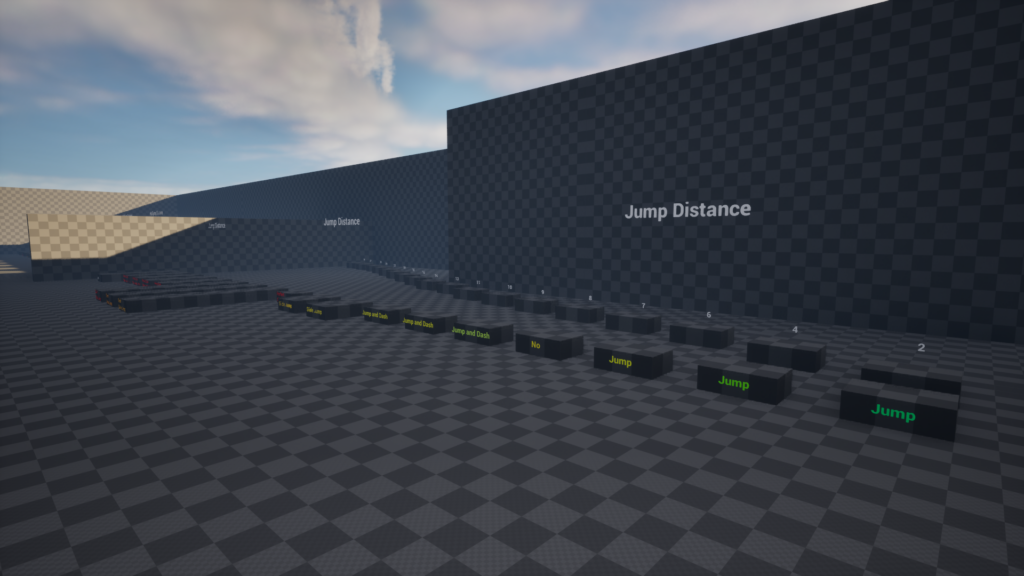
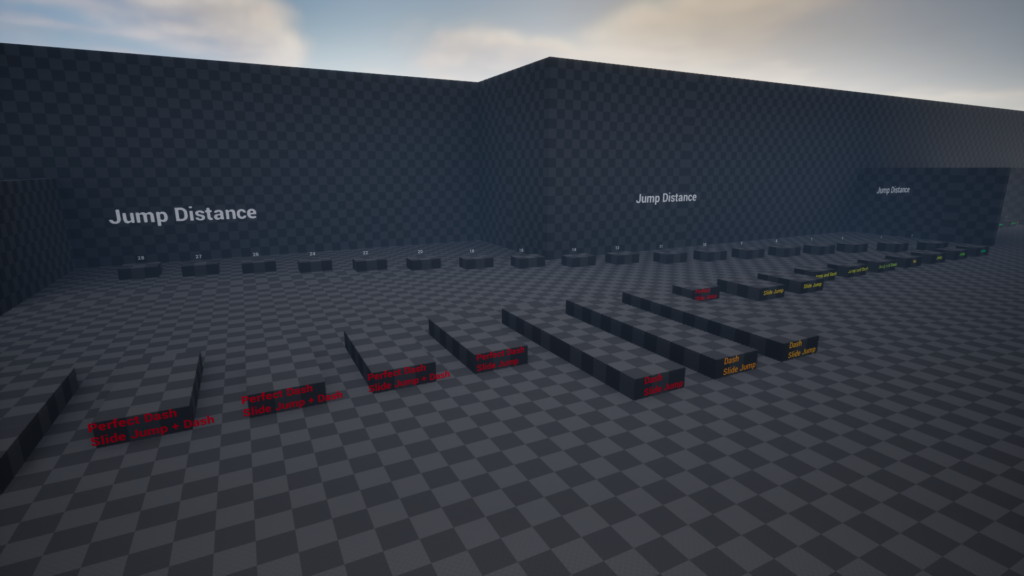
After that, think of the difficulty. Something that is easy for you might be very difficult for a starting speaker (player). Keep testing this while making your level.
This is what I call my “Movement Dictionary” . It helps me visualize what I can and can’t do, plus it gives me ideas for levels themselves.
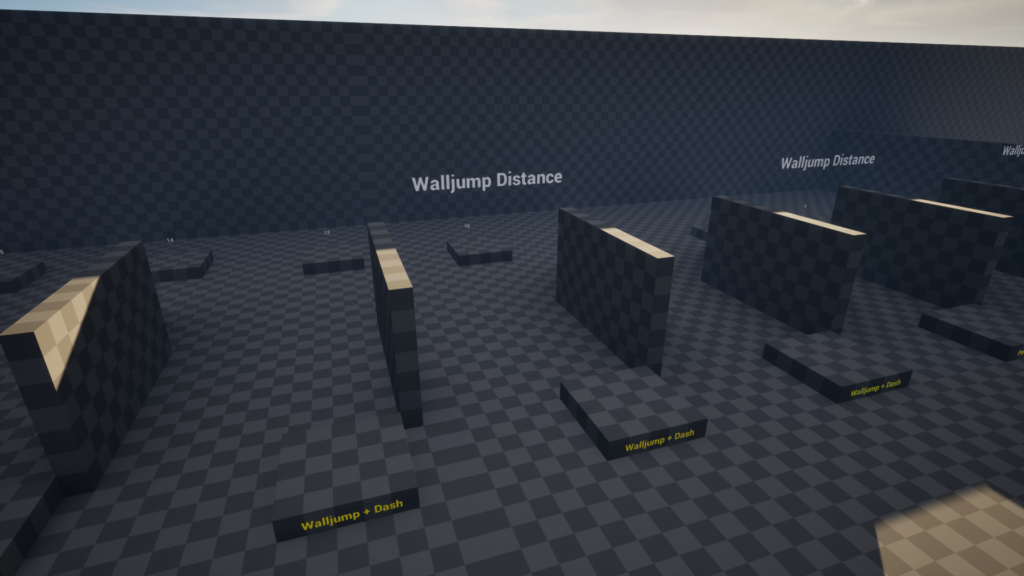
These tips are nice, but it only helps to make your levels more playable and easier to understand. They don’t make it more interesting. For that is up to your imagination. Try to give your level a small narrative of what happened/happens in it. Use that narrative to guide the player. don’t just place arrows all over the level!

Lets break down the starting area of my newest level. First notice the God rays coming down from the ceiling, these aren’t just for show. They point towards the right, and their contact with the ground makes a path towards the yellow light and the exit. The yellow is supposed to indicate that the player can do something there. but since the player has only learned to jump in the small hop they will most likely jump to discover vaulting. Notice how the yellow light is not visible on the front side of the box. This is because I learned in my “Movement Dictionary” that a 6-block wall is not possible to jump and vault on. To give the level a bit more spice I added the small narrative that a part of the bridge has broken off. This gives an explanation for why the player has to jump. Overall I am very proud of this small segment, more that the first 3 levels combined! It is really subtle and yet looks beautiful if I say so myself hahaha.
Here are a few more examples:
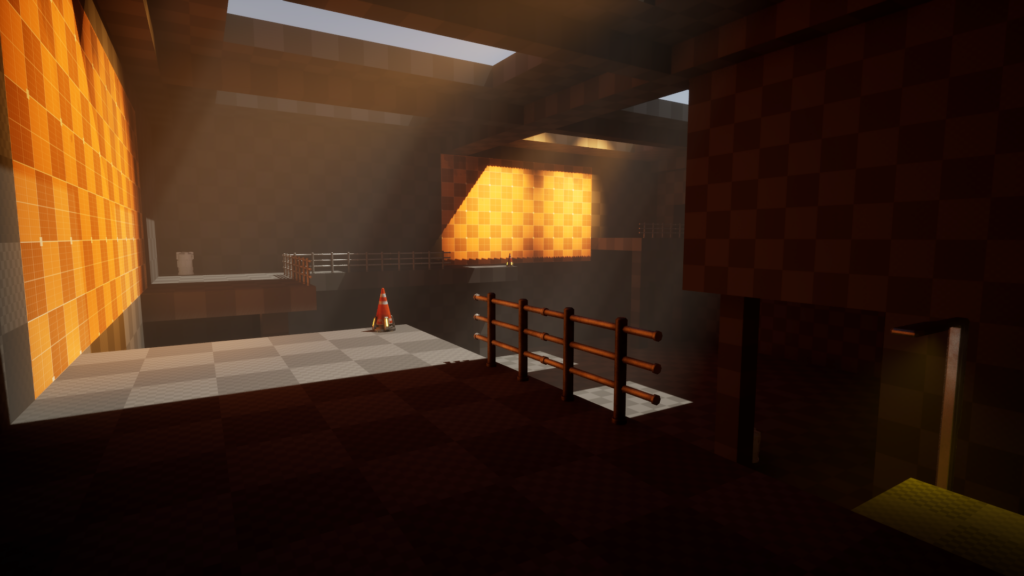
Area where wallrunning gets introduced!
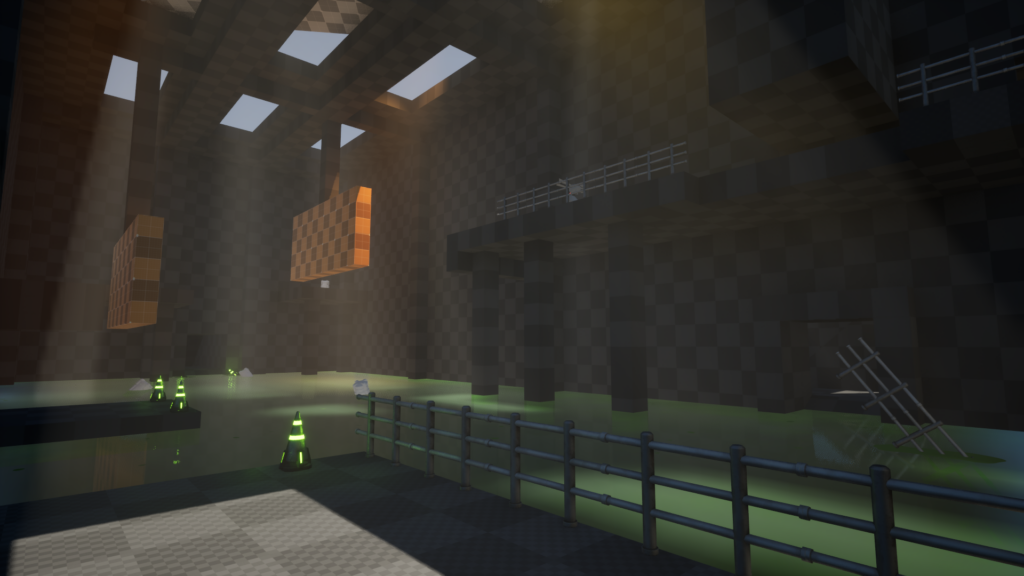
This room will introduce Time Stop. By letting the player walk over the Water!
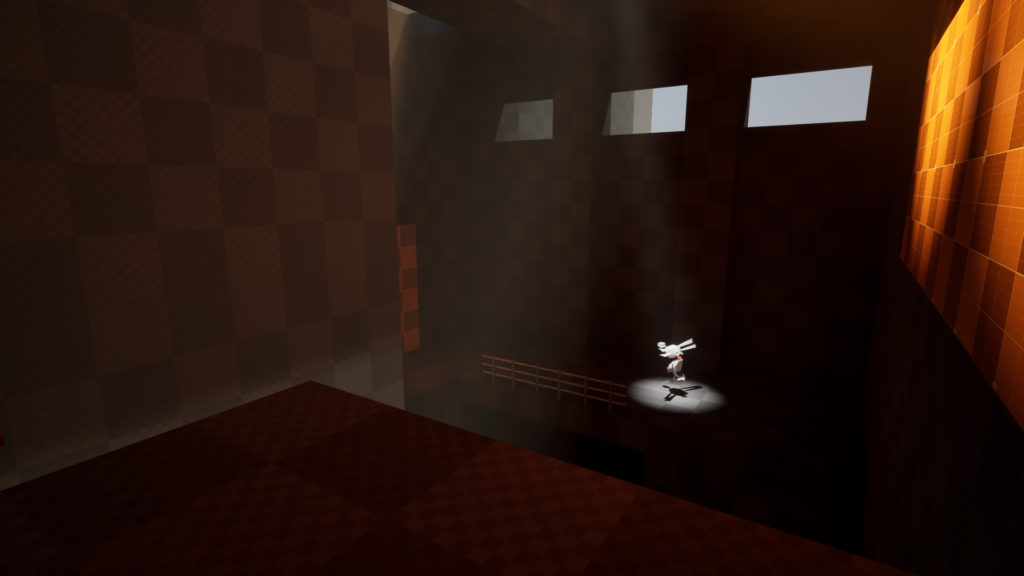
The introduction of the first enemy!
If you take anything away from this blog, please let it be: “Speak the language that is your game!”.
Thank you